Unleashing the power of paint sprayers can transform tedious painting tasks into a breeze. With the right tools, knowledge, and some practice, you can achieve professional-quality finishes with ease. This guide will walk you through the entire process of how to use paint sprayers, from selecting the right paint sprayer, preparing your workspace, filling and adjusting the paint sprayer, mastering the art of spraying, and maintaining your paint sprayer equipment. Let’s start this colorful painting project.
Table of Contents
Key Takeaways
- Selecting the appropriate type and size of a paint sprayer, such as High Volume Low Pressure (HVLP) for detailed work or an airless paint sprayer for large projects, along with the correct paint sprayer tip, is critical for achieving the desired finish when you apply paint.
- Preparation before spray painting is crucial and includes protecting oneself with safety gear, covering surrounding areas with plastic sheeting and plastic sheeting, and ensuring the paint is properly strained and thinned as needed.
- Mastering spray gun techniques—such as maintaining the correct distance and angle, ensuring even overlapping strokes, and using the right tip and pressure settings—is essential for a professional-quality finish.
Choosing the Right Paint Sprayer for Your Project
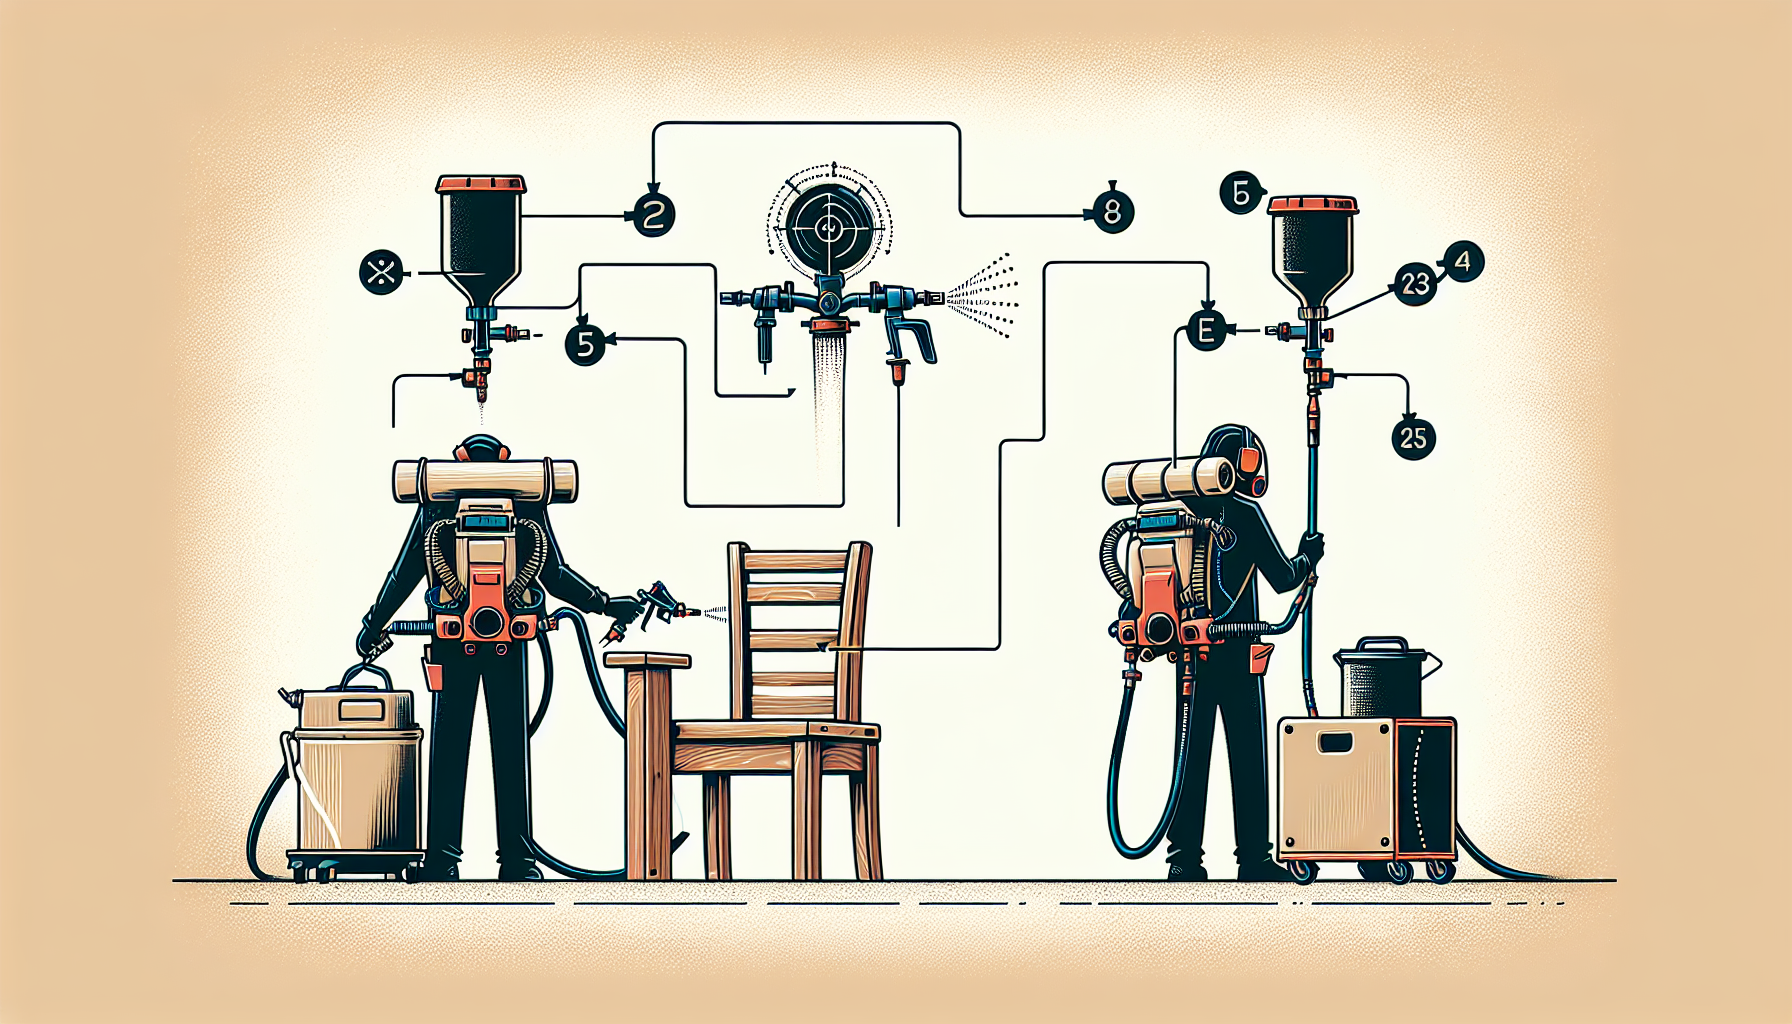
When it comes to finding the right paint sprayer for any project, understanding your options can make all the difference. Knowing which one is best suited to you depends on factors like the size and detail of each job. With two main types of High Volume Low Pressure (HVLP) or even airless paint sprayer systems available, you need to understand how they differ to get a perfect finish every time!
Airless sprayers are more suitable for larger projects that require high-pressure pumps used in atomizing paint through small openings at the tips of guns. Proper use should always be taken into account with these devices if achieving great results are desired. For detailed applications such as cabinets and moldings. An HVLP system may deliver better precision than other methods, albeit requiring longer painting times due to its limitations when tackling large tasks.
Selecting the correct paint sprayer tip also plays a big role. It allows full control over both width and speed parameters necessary while using either type of machine – ensuring greater accuracy throughout every single project!
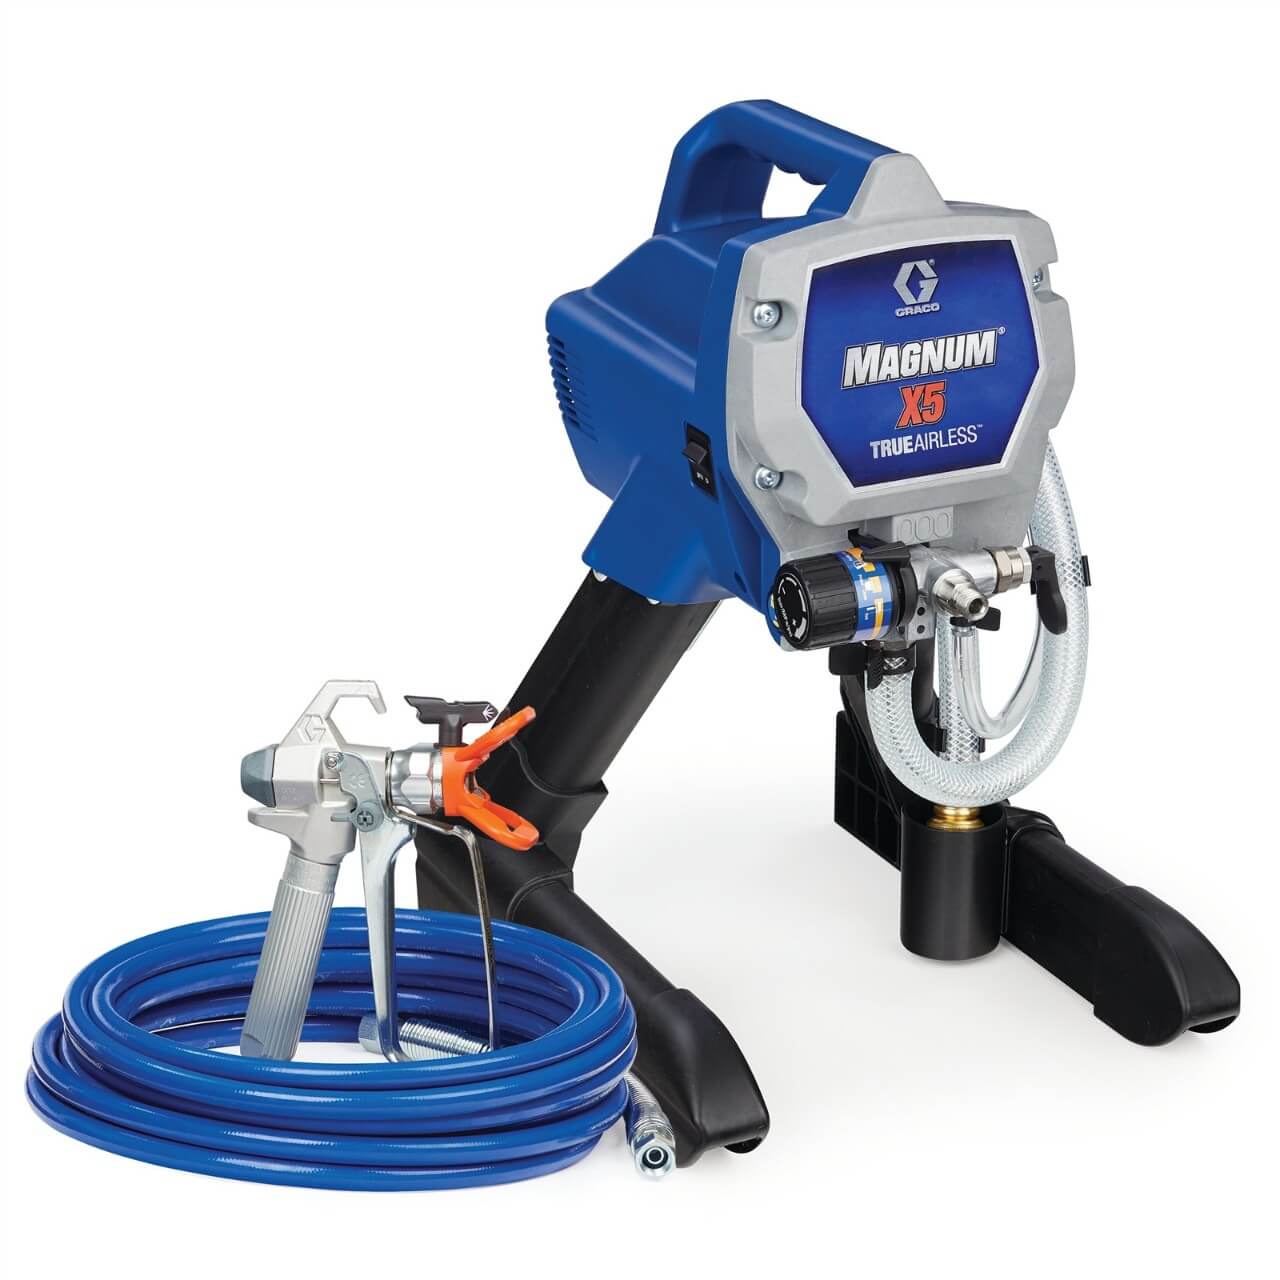
Understanding Airless Sprayers
An airless sprayer is the perfect tool for large painting projects and can make a real difference in time efficiency. By using high-pressure pumps to atomize paint, they generate adjustable spraying areas which not only help with intricate detailing but also significantly reduce the amount of wasted paint.
These impressive machines must be used responsibly as their force at the tip has the potential to cause skin harm if mishandled. Hence proper precautionary steps should always be taken when utilizing an airless sprayer effectively on your next project involving coats of paint.
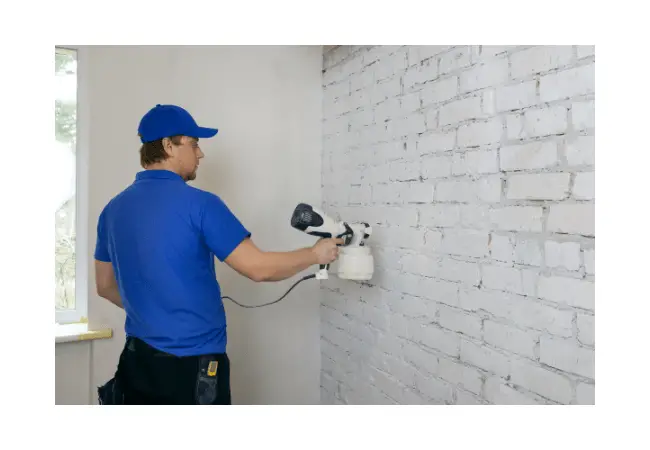
Exploring HVLP Sprayers
HVLP sprayers should be your go-to when accuracy and intricacy are a must in the project. These can give you control of width, direction, and speed, all important elements to ensure success with detailed work though it may take more time compared to other types for larger areas. To gain mastery over this type of equipment, the following steps are essential: picking out which HVLP model would suit best, preparing space needed for spraying, and selecting a suitable nozzle tip size according to application requirements. Finally, tinkering with settings correctly until the desired output/result is achieved.
Essential Pre-Spray Preparations
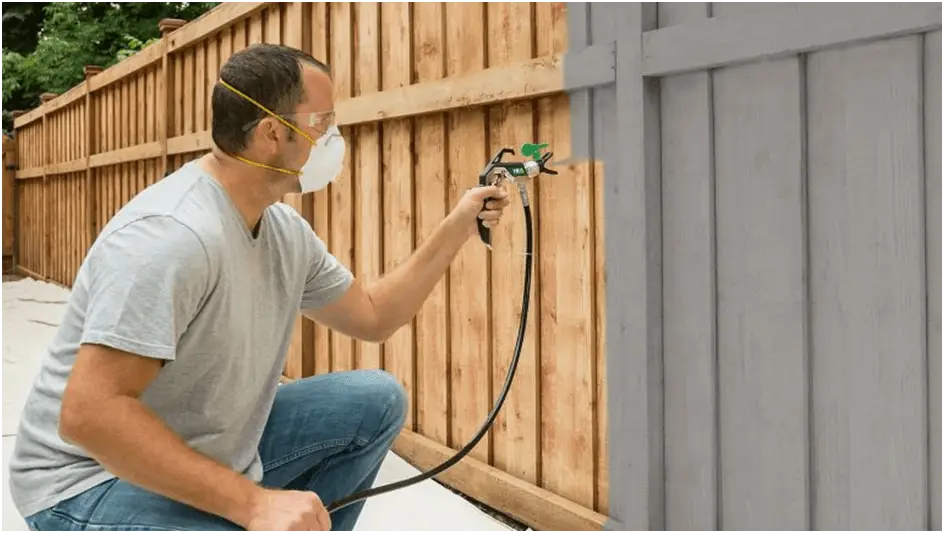
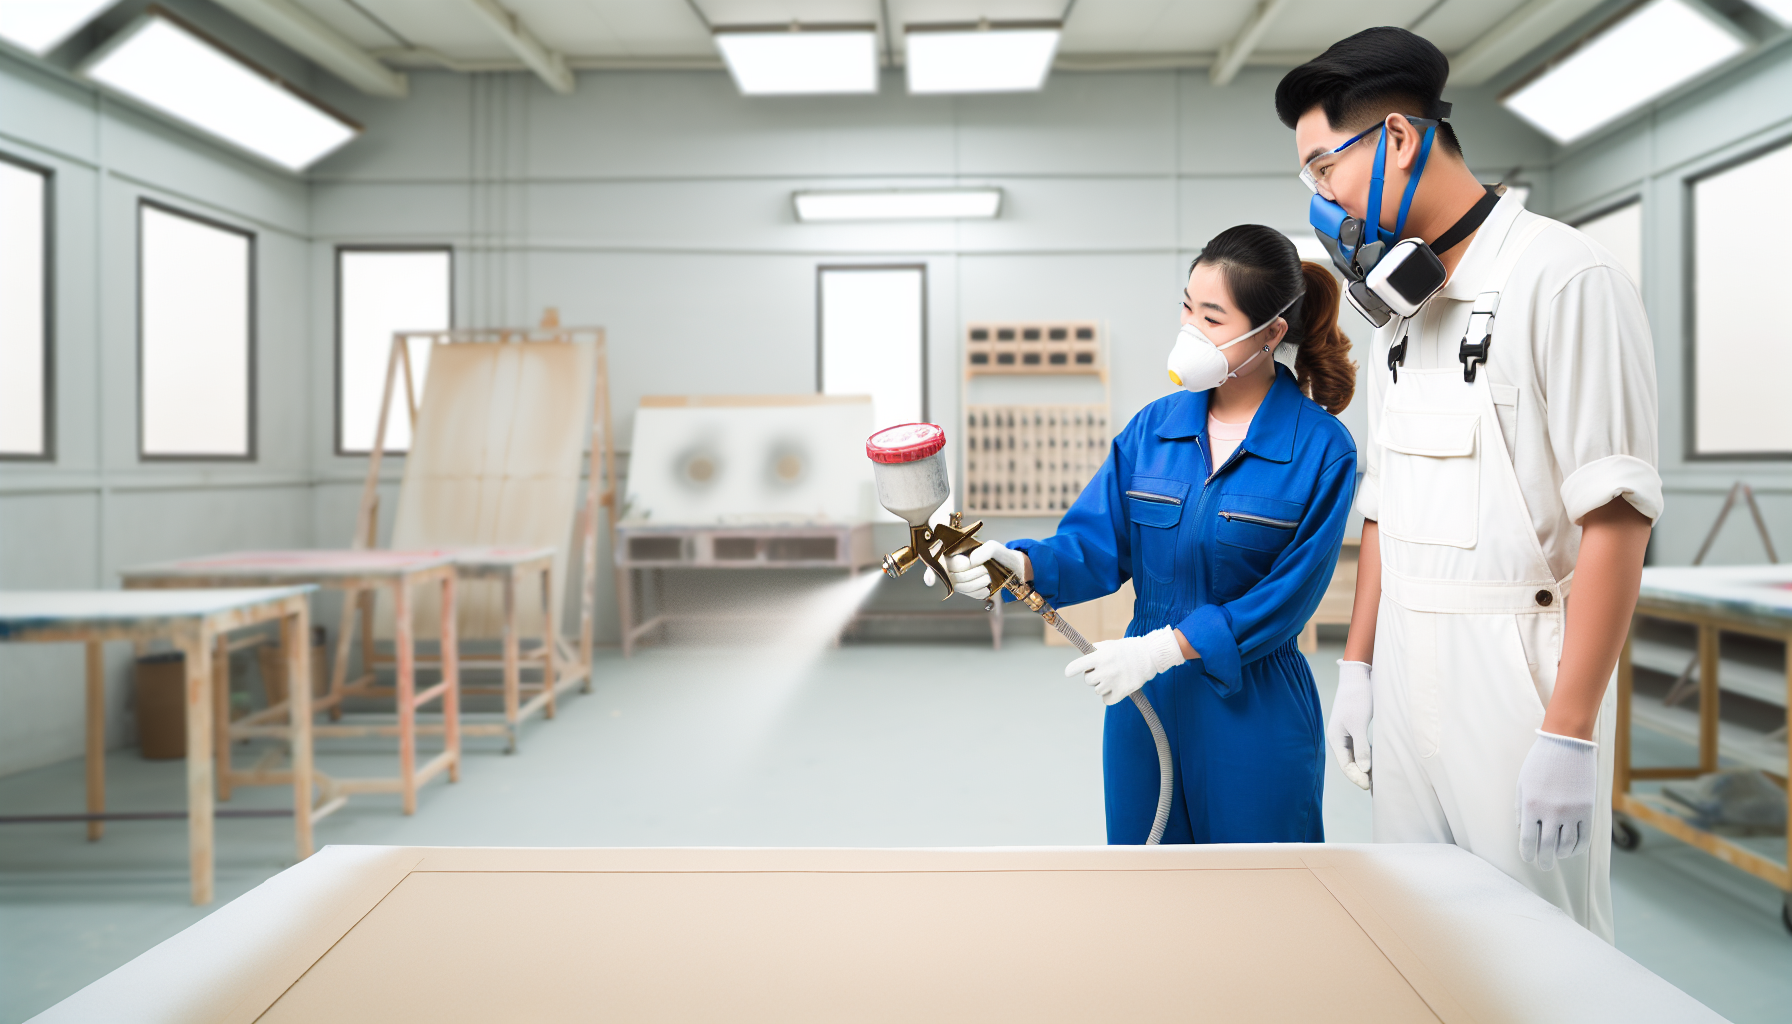
Before beginning to decorate with vibrant hues, take a moment. Preparing yourself and your working space is just as important in painting projects as the actual task of applying color. Wear suitable clothing and safety gear so that no unpleasant surprises occur when using paint.
Protect any nearby furniture or objects from splatters by covering them up with drop cloths, plastic wrap, or masking paper, this will help ensure you get optimal results during the job!
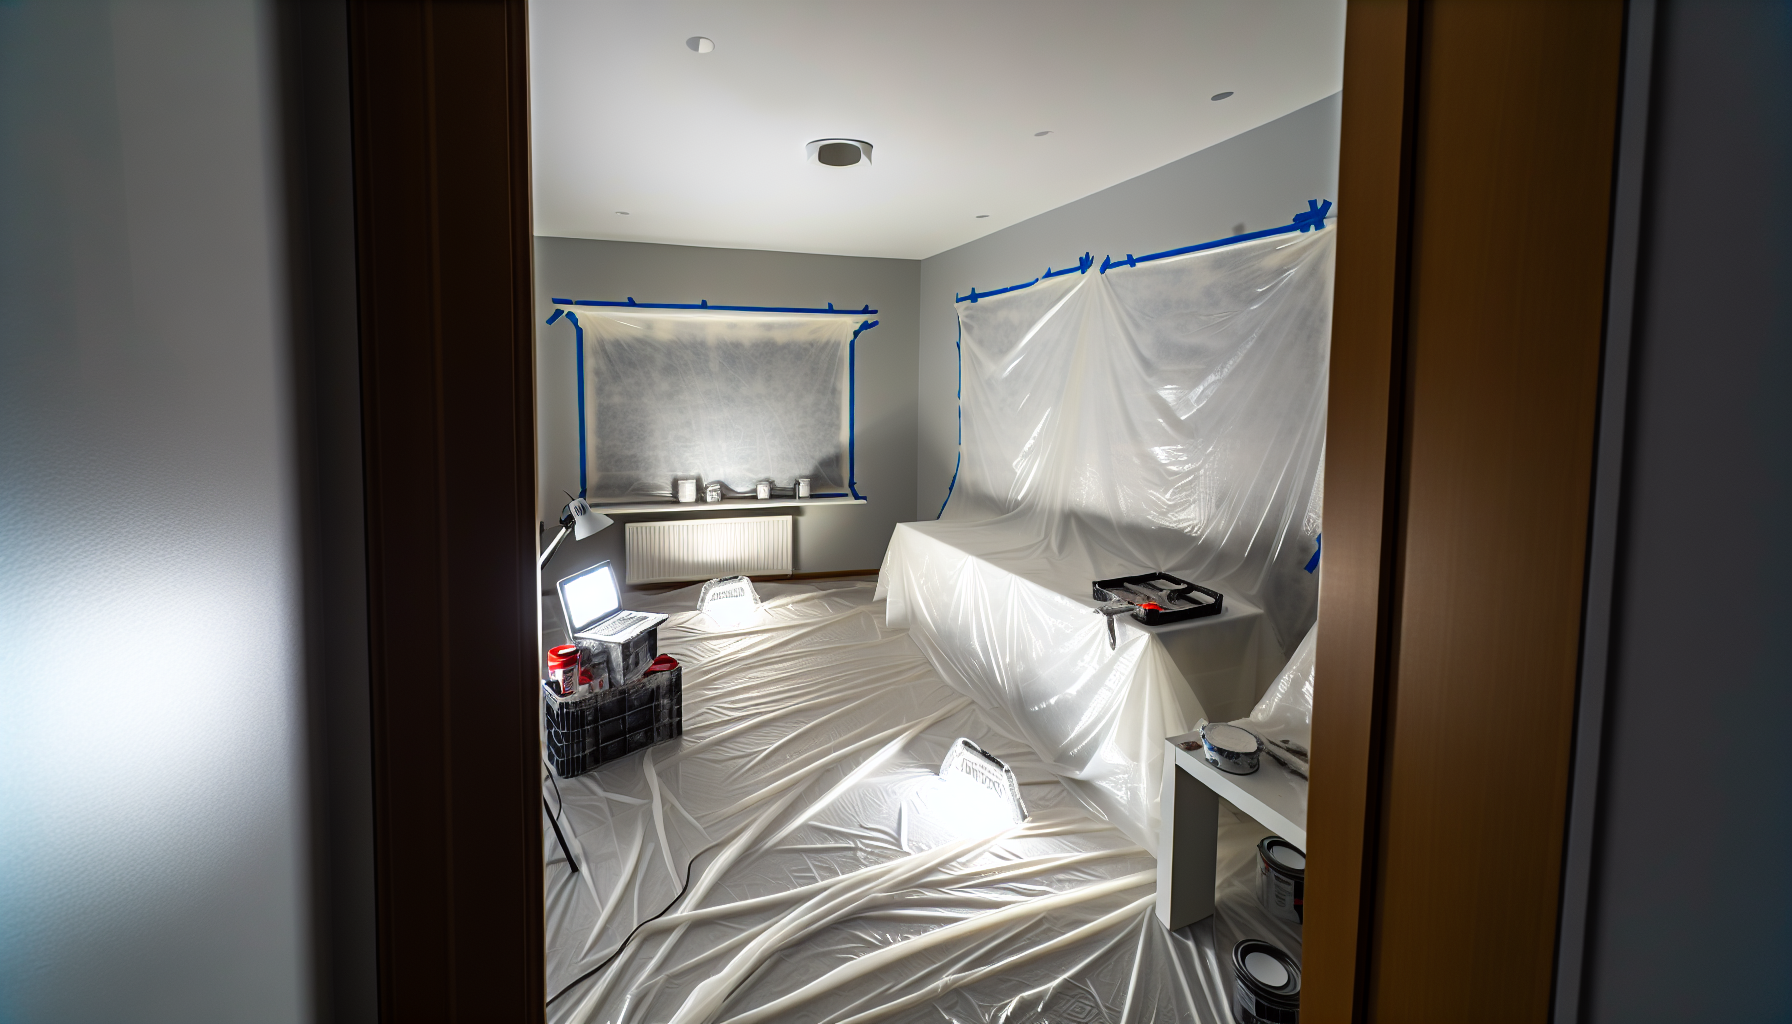
Setting Up Your Space with Drop Cloths and Plastic Sheeting
Beginning to use a paint sprayer for a painting project without proper preparation for the area being worked on can be an absolute disaster. Having drop cloths and plastic sheeting ready to cover up anything that should not be painted is essential. Thick marine-grade canvas with rubberized bottom layer drops will protect your floors most efficiently while masking tape or painter’s tape may help secure them in place along the edges of walls and furniture.
To ensure nothing gets stained by paint spills, extra precautions such as doubling tarps around high-risk areas need to be taken before starting the job. Don’t forget outside surfaces are included too! Protect them against possible overspray from application with appropriate protective sheets including both plastic sheathing and droplets suitable for outdoor use.
Donning Safety Gear for Protection
Prioritize safety when you use a paint sprayer for enjoyment. Invest in a mask or respirator to prevent inhaling toxic fumes, which could lead to health complications. Protect your whole body and eyes by putting on clothing as well as goggles – don’t forget gloves either! Vinyl ones, ProCure nitrile gloves and Ultrimax black nitrile models are great options that offer chemical protection if you’re going to use a paint sprayer too. When all of the protective gear is ready, then go ahead with the artistic process.
Filling and Adjusting the Paint Sprayer
Now that you’re fully prepared, it’s time to fill and calibrate before you use a paint sprayer. This is an important step as proper adjustment ensures the best results with coverage. Before loading in the colorant, make sure to strain out any solidified pigment or debris from outside sources that could potentially block up your spraying gun nozzle. If using an HVLP applicator and applying thick material, it requires thinning for correct viscosity for spray shooting purposes too.
Before initiating painting, do not forget about conducting one final trial on some scrap material surfaces like scrap pieces of wood so adjust the air/liquid paint flow rate accordingly along with different other configurations such as changing pattern shape will eventually guarantee better performance during real work process thereafter.
With everything set now, you are good enough to undertake professional paint sprayer step tasks when executing painting jobs.
Straining Paint and Filling the Reservoir
Before you begin the spraying process, make sure to strain your paint. This is necessary for preserving the airless sprayer’s packing and avoiding any interior scratches on it. To do this successfully, try using stockings or pantyhose mesh filters as well as cone strainer frames made of nylon-stocking material. Straining will result in a uniform application when spray painting is finished!
Also keep in mind that depending on what kind of paint you’re using (water-based latex paints versus oil-based ones), thinning may be required before pouring into the reservoir – so don’t overfill it! Water can help dilute water-based models while thinners like turpentine or white spirit should be added with other types of oil-based paints instead. Check manufacturer guidelines if needed first before continuing either way.
Fine-Tuning Sprayer Settings for Perfect Coverage
For the best results with airless sprayers, it is essential to adjust pressure settings for optimal coverage. Titan’s HEA tips set at 1000 PSI are ideal when applying architectural paints and coatings, while nozzle adjustments will alter the fan angle. To guarantee an immaculate finish on your project: flush all pumps and lines using water, load in your chosen type of paint, and pick out a tip based on the desired spray pattern size. Then set up HVLP gun pressure at around 23psi – also turn needle adjustment 2 12 times outward. By fine-tuning these factors you can be sure that you achieve perfection in every step towards creating an incredible painting experience!
The Art of Spraying Paint
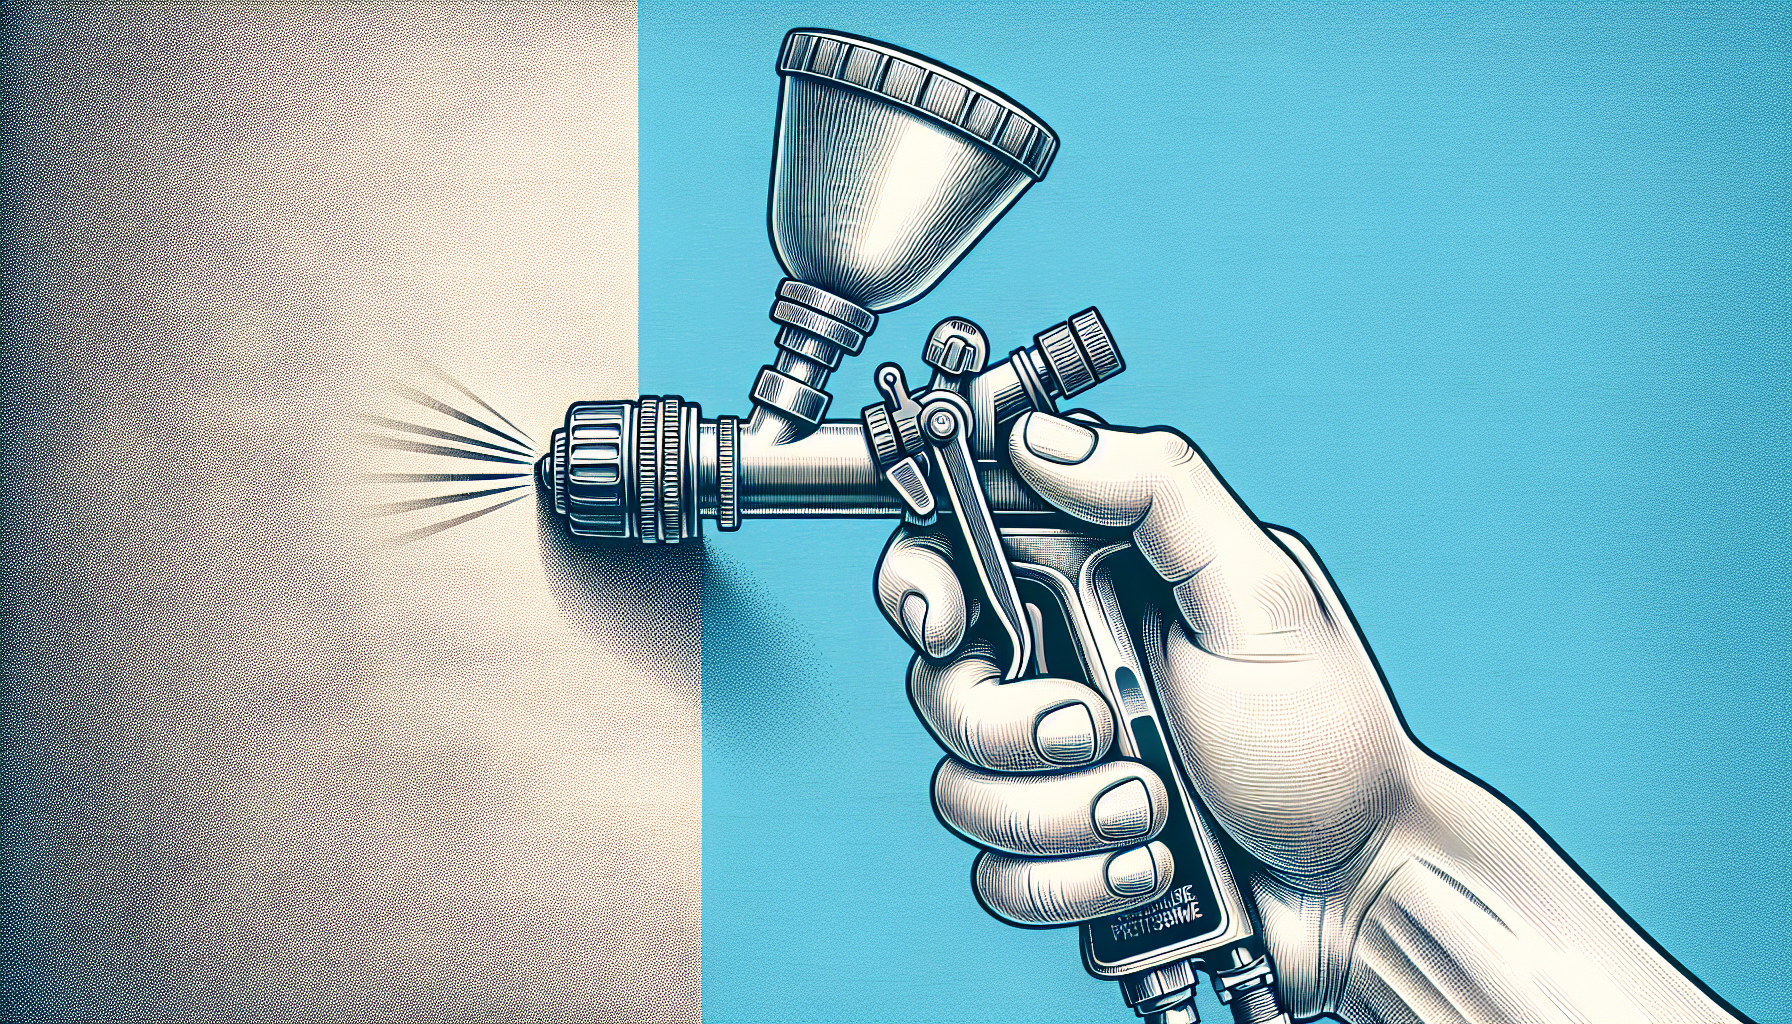
Using a paint sprayer correctly is the key to achieving an excellent finish. These steps should be followed while using it: maintain a distance of 6-12 inches from the surface, keep the gun perpendicular at all times, move steadily for uniform application, use thin coats so as not to cause drips and runs on the object being painted, rectify any mistakes with wet sanding technique and clean the tool regularly by wiping it with a rag to avoid spills.
Besides this, one should take into consideration the orientation of the item when selecting the fan pattern (horizontal or vertical) provided in most modern paint sprayers since effective coverage can only come about through appropriate selection. Doing all this will make you an expert in no time!
Mastering Spray Gun Movements
To get a professional-looking paint job with your spray gun, it is best to keep the airless model 12-14 inches away from the surface and Conventional Air Atomising guns at 6, 8. You should use methods such as longitudinal overlapping, horizontal overlapping, or vertical/horizontal alternate spraying for an even finish. To maintain uniformity in stroke when using this type of equipment: start before you pull the trigger, continue after releasing, and remain consistent on speed and overlap while avoiding one-spot painting which can create drips or runs plus safety issues. If these tips are followed correctly, you will have smooth results every time!
Achieving Even Coats
Getting a smooth finish when painting is the ultimate goal. To do this, you need to keep your spray gun pointed towards the surface at 90 degrees and ensure that each spray pattern overlaps with one another for even coverage. This will give you an overall neat look without any visible lines or streaks in it.
For perfect results, try changing up directions during successive coats of paint, and start spraying away from the object before gracefully going across its edges while also making sure to maintain a thick layer every time around. You may want to adjust settings on both consistency levels as well as on your sprayer depending on your settings and upon what outcome you are looking for!
Post-Painting Cleanup and Maintenance
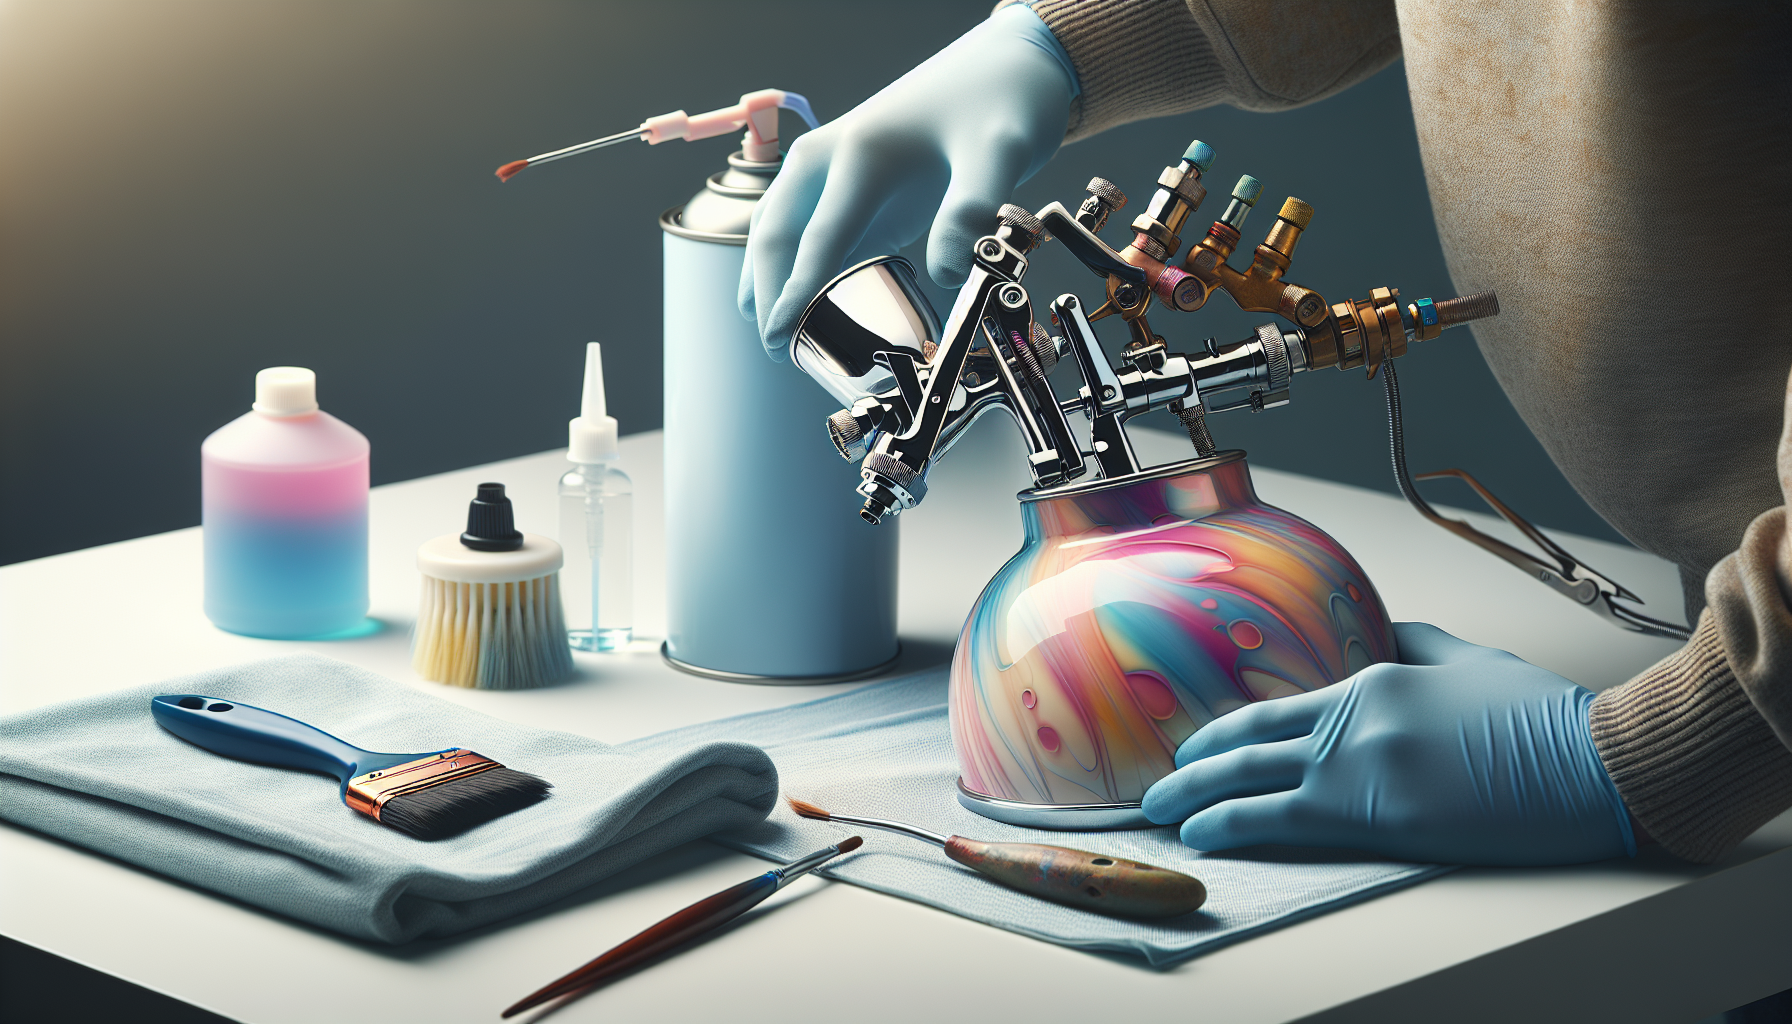
After admiring your work, the last and most crucial step is to tidy up. Keeping a paint sprayer in good condition can be done through proper cleaning after each use, this helps with extending its life expectancy as well as enhancing performance. The process starts by utilizing an appropriate solution for removing any residue of paint from both the intake tubes and cup. Then proceed with flushing fresh cleanser via the gun until it is clear out.
Next, disassembly of the nozzle parts should take place, which aids in sanitizing not only these but also all seals while oiling them concurrently. Cleanup along with maintenance allows that when you’re prepared for another project, so will your trusty old painting machine ready too!
Discharging Fresh Cleaning Solution Through the System
It is crucial to use a fresh cleaning solution when it comes to paint sprayers, as old or dirty solutions can leave behind residue and contamination that may interfere with future cleanings or impair the paint job. Cleaning of the painter should be done using a new product after each session to avoid buildup and make sure everything’s ready for what’s coming next. Common recommendations for discharge fresh cleaning solution include denatured alcohol for latex paints and acetone if a more thorough purification is desired.
To begin this process, you must first drain out all remaining material from your tank before rinsing its interior either via pressure washer or garden hose attachment nozzle – then commence flushing by running water through both prime & gun lines simultaneously until completed.
Caring for Nozzle Parts and Intake Tubes
Now that the system has been flushed, it’s time to turn our attention to the spray gun nozzle parts and intake tubes. It is important to properly clean all components with soap, water, and a brush before assembly. To do this correctly for each part of the tip assembly (sprayer tips or nozzles) submerge in denatured alcohol or ammonia. Swirl them around in thinner/water. Use cleaner fluid by passing through both ends of the tip too.
The next step when taking apart intake tubes would be removing any paint particles from areas such as the paint sprayer headguard itself followed by exhaust tube dismounting which could take place. If needed at all, along with wiping off the extra amount of paint accumulated while the usage process was ongoing up until now. For successful storage procedures after maintenance, ensure always to point your weapon downwards into some kind of separate container whenever emptying remaining pints becomes a necessary activity, make sure never to leave inside sump untreated fluids even if only a couple of days expected till upcoming possible utilization right away again someday later on.
Troubleshooting Common Paint Sprayer Issues
Meticulous care and maintenance of a paint sprayer is essential, yet even then certain issues may arise that will require troubleshooting. Common problems include blocked nozzles and an inconsistent spraying pattern. Unclogging the nozzle can be done by using solvents like lacquer thinner to dislodge buildup in the system. While for spraying patterns, you must check that the pressure levels are right, avoid applying excessive force when painting, examine any worn-out parts or tips on your nozzle as well as ensure enough air atomization has taken place. All these actions could help ensure your return quickly back to the initial painting project.
Addressing Clogs and Blockages
Paint sprayers and the paint used can sometimes cause blockages or clogs which can be difficult to manage. To prevent this issue, make sure all surface debris is removed before application instead of being included in it. It’s also important to clean the filters on your paint sprayer after every few uses with a garden hose and clear water. If that doesn’t work, soaking them in denatured alcohol might do so. If problems persist even after these efforts, investigate whether the nozzle needs cleaning too as another possible solution for any lingering obstructions from forming again!
Rectifying Uneven Spray Patterns
Have trouble with unbalanced painting? With a few tweaks to the pressure settings you apply paint with, you should be able to easily fix this problem. Take care not to forget about cleaning your paint sprayer nozzle often so it does not give an uneven result.
To ensure successful results and avoid issues related to spraying evenly: adjust force correctly, make sure there is no damage on the parts of your nozzle, and maintain appropriate air atomization when working with paints, these are all essential steps that need to be taken into account.
By abiding by these rules, you can attain even coatings quickly and without issue!
Summary of How to Use Paint Sprayers
When you have a painting job to complete, don’t be intimidated by picking up a paint sprayer. With the right equipment and adjustments made, spraying can lead to professional quality finishes that will transform a big mess in your space into an artistic success! All it takes is selecting the best tool for you, preparing your workspace ahead of time, properly filling and adjusting the gun or machine before use, developing skill in controlling spray techniques, cleaning out components after each project’s completion plus regular maintenance, then watch those walls come alive with color.
Frequently Asked Questions
Can a beginner use a paint sprayer?
Using a paint sprayer as a beginner can be achieved, but it’s highly recommended to rehearse on spare surfaces before painting the actual object. It is vital to gain experience with the use of a paint sprayer for the successful use of this tool.
Do you have to dilute paint when using a sprayer?
It is recommended to thin paint when using a spray gun, as this helps the liquid move through the nozzle more effectively and gives an even finish. On surfaces that are particularly smooth or for thicker materials, it may be necessary to dilute your mixture to get ideal results with less fuss.
What are the predominant types of paint sprayers available in the market?
There are two main types of paint sprayers available: HVLP (High Volume Low Pressure) and airless paint sprayers. They are widely used for a variety of painting tasks, making it easy to apply the coating uniformly and quickly. Both can deliver an even coat with minimal effort involved in getting that perfect finish.
How do I prepare my workspace for a painting project?
When conducting a painting project, it is important to protect the surroundings by covering up nearby surfaces, furniture, and objects with drop cloths, plastic wrap, or masking paper. This will help keep your workspace clean and orderly during the process.
How do I clean a paint sprayer after use?
When cleaning your paint sprayer after use, you need to first flush it with a suitable solution that can remove any remaining residue from the paint cup and intake tubes. This will ensure its quality performance in the long term. Then run fresh solution through your spray gun until it is clear of any debris or pigment left behind by previous painting sessions. Doing so allows for an effective clean-up process while maintaining optimal functioning abilities on all components involved – including your invaluable paint sprayer and accompanying nozzles.
Leave a Reply