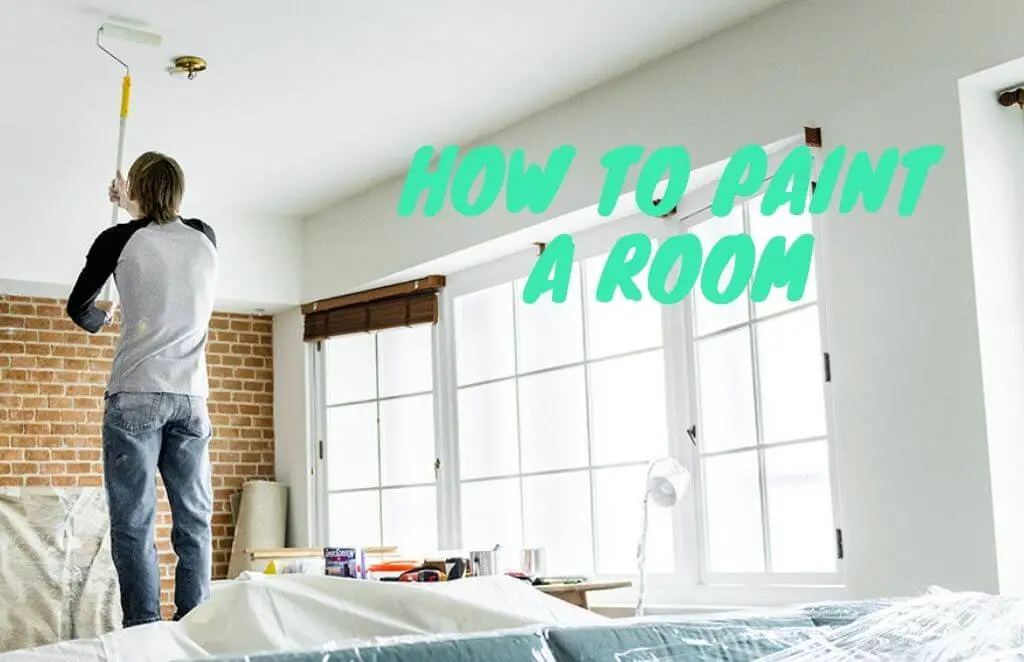
Learning how to paint a room correctly is essential for beginning DIYers, new homeowners, and veteran home improvement experts alike.
After all, it’s pretty painless, relatively inexpensive, and easy to fix if something goes wrong. But before you grab the roller and start on the first coat, it’s essential to have a plan of attack.
So we asked a handful of experts for their best room painting tips and tricks to get you started.
Read on to learn how to paint a room and take a step-by-step look at what you’ll need to do to ensure your project is a success.
Table of Contents
Materials and Tools
Every project is unique and you may need different tools depending on the paint you choose and the condition of your walls, but there are some must-haves:
- Paint
- Paint roller
- Paint roller extension pole
- Drop cloths
- Paintbrushes
- Paint tray
- Sandpaper
- Painter’s tape
- Rags
- Putty knife
- Bucket
- Flexible putty knife
- Sponge
- Stepladder
- Masking paper
How to Paint a Room: Step by Step Instructions
Now, this is an essential step in room painting as you probably could have solved. It’s not exactly how to paint a room, but the equipment is just as important as the paint itself.
The most important thing to do is choose color carefully, and it may seem like an arduous process, but it’s worth it and it’s very important.
1. Make a Plan
Before you pick up a brush, you need a plan of attack.
Think of it like cooking: you want to read the entire recipe before you start blindly throwing ingredients into the pot; otherwise, you might get halfway through and realize you’re missing an essential component.
Consider painting an accent wall with a bold hue or highlighting trim in contrasting shades or finishes. And don’t forget to look up and see if the roof needs an update too.
2. Chose the Perfect Color
Navigating through color charts and paint samples can be overwhelming. Start by figuring out general color characteristics: Do you want a warm or cool tone? Neutral or saturated?
If you have existing furniture or art, you’ll also want to consider how the shade will complement it.

Once you have an idea of what you’re looking for, pick out a few shades and get samples – many direct-to-consumer brands, like Backdrop and Clare, will send you adhesive samples that you can stick to your wall to get a better idea.
Try out the colors to see how they look in the room at different times of the day.
Many paint companies also have tools on their websites to allow you to upload a photo of your space and preview the different colors on the walls. But colors can look different in real-world conditions, so you’ll still need to test it out in space.
To guide your search, start by thinking about what you ultimately want. Can you imagine a warm or cold tone? Does your space warrant a bold color, or would a neutral be more appropriate?
Once you have a general idea of the direction you want to go, you can start examining the paint particles.
3. Calculate How Much Paint You Need
When calculating how much paint to buy, many retailers have helpful calculators you can use.
Always double-check the packaging, but a gallon is generally about good for 250 to 400 square feet. And don’t forget: you’ll need a little more for tweaks and mistakes.
Are you planning to whitewash a charcoal gray wall? You may need additional paint when you go from dark to light.
On the other end of the spectrum, a deep base color tends to require more coats of paint than a lighter color.
Apply a gray-tinted primer to the surface before painting the walls with saturated color to help reduce the number of applications.
When it comes to finishing, you may have heard that the glossier it is, the higher the coverage rate, but it’s not enough of a difference to change how many gallons you need to buy.
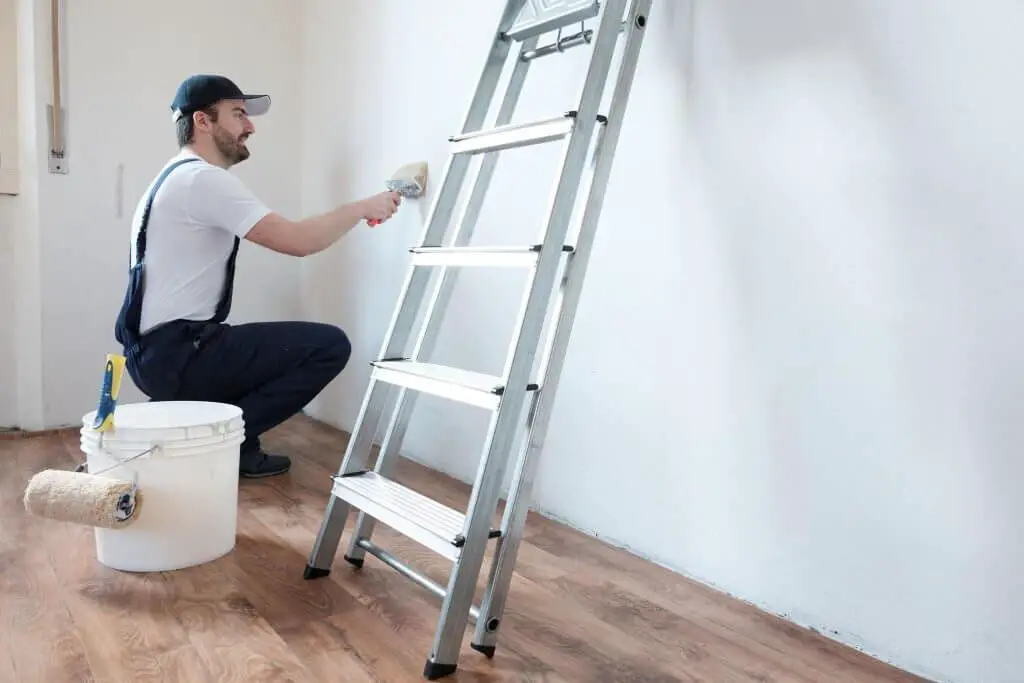
4. Prep the Walls and the Room
You don’t want to damage your favorite couch or that heirloom Grandma gave you, so clear the room of all the furniture.
If you don’t have enough space to relocate everything you own, push everything to the center of the room.
Cover the pieces with a drop cloth or lightweight plastic sheeting, and do the same for the floor, as well as any cabinets or countertops that may be in danger of excessive splashing.
Getting a good seal so the paint doesn’t get under the tape is everything, plus it will come off cleanly after everything is dry.
Remove light switch and outlet covers and apply painter’s tape to protect outlets and switches from paint drips. Before you begin, make sure you know how to repair drywall so you can clean up any nicks in your walls.
- First, wipe the dust off the walls from floor to ceiling and rub any heavily soiled areas with a damp sponge or cloth; paint will not adhere as well to a dirty surface. Let dry before painting.
- Protect the floor and any furniture you can’t move from paint splashes and spills. For the floor, choose cloth instead of plastic, as plastic can be slippery under your feet or, worse, the ladder.
- Remove light switch and outlet plates and tape around areas you don’t want to paint with painter’s masking tape or Frog Tape. The Good Housekeeping Institute tested the latter on a smooth wall and found that it makes a clean line and doesn’t let the paint bleed.
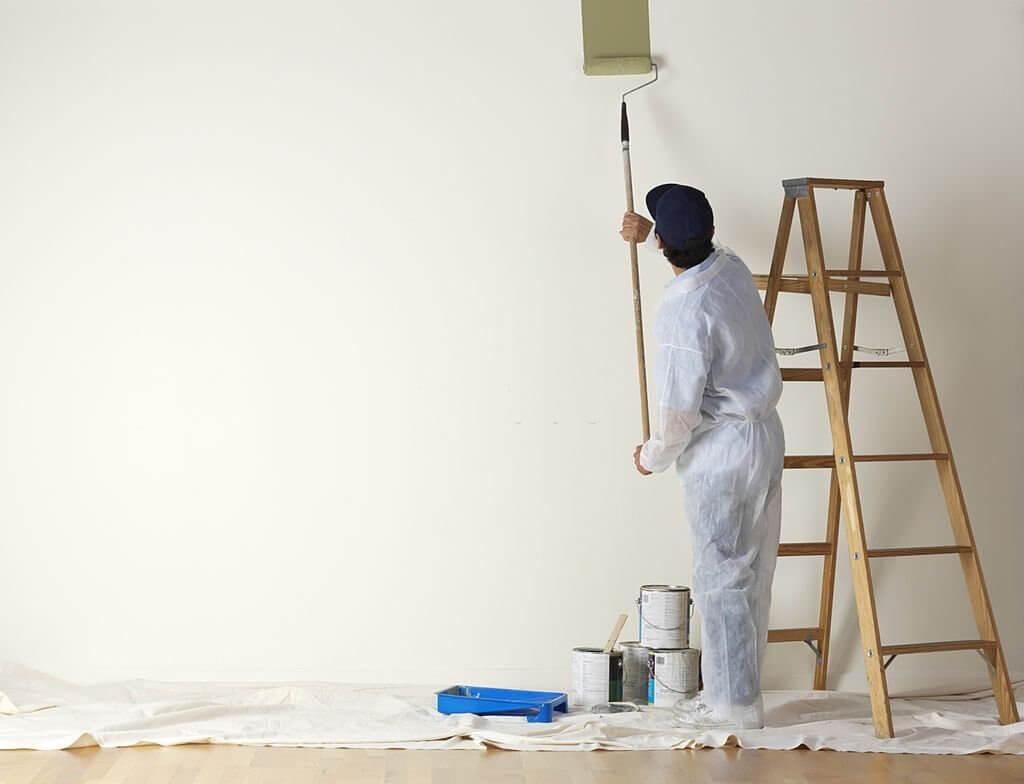
5. Prime the wall
One small hurdle when trying to paint a room in a day: Painting over a dark wall with a light color requires one coat of primer and two coats of paint.
Go from light to light? You can get away with two coats of good quality regular paint.
6. Mix the paint
Use a wooden paint stick to stir the paint and stir frequently throughout the project.
Paint that isn’t constantly stirred can cause the ingredients to separate and risks compromising the true color you’re going for.
If you are using more than a gallon of paint, combine the cans in a large bucket in case there is a slight variation in color.
Although the store will usually shake the paint for you, a good shake will ensure that the paint mixes properly. This is particularly important if the can has been sitting on a shelf for a long time.
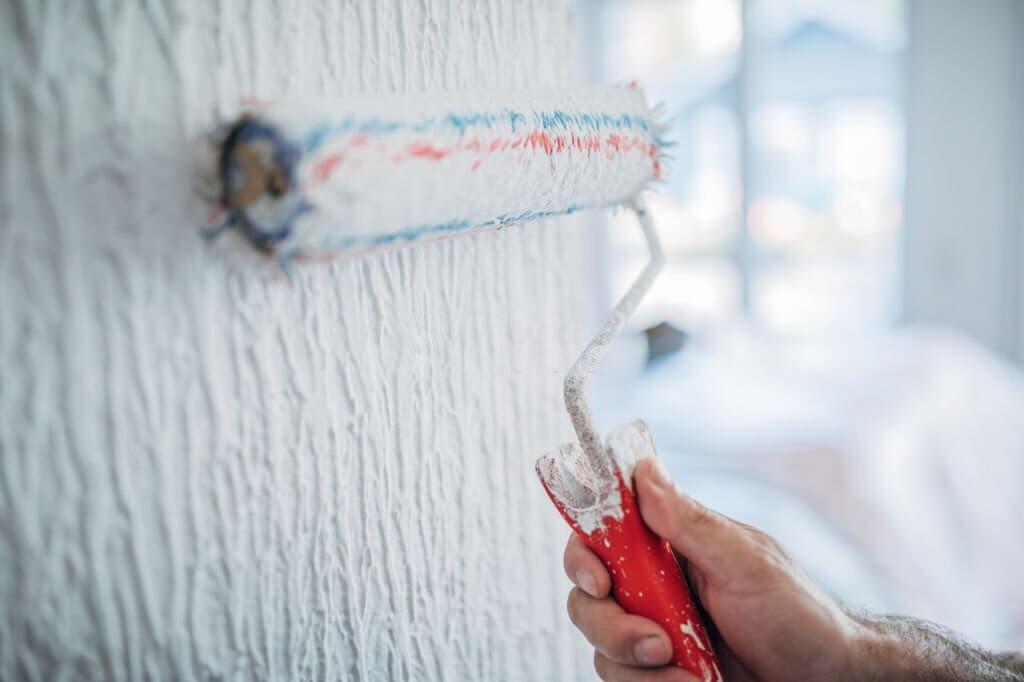
7. Get rolling
Now you are ready for the main event. If you’re painting a room with two colors stripes, for example — start with the lighter color first. Once dry, run painter’s tape over the divider then paints the darker color.
If you’re painting a room a single color, here’s how it’s done with a roller and brush, according to the pros:
- Use an angled brush or sponge tool to “cut,” or paint a two-inch strip around the edges of the wood and ceiling.
- Grab your paint tray and a roller. Use 1/4-inch wool for smooth surfaces, 3/8-inch wool for semi-smooth surfaces, or 5/8-inch wool for rough surfaces; the wrong tool will apply too much or too little paint. If you are using latex paint, pre-wet the roller first.
- Fill the paint tray well about ¼ of the way. Then when you load the paint, roll the roller back and forth in the well until it is evenly covered. Finally, move the roller back and forth across the top to remove any excess.
- Fill in the unpainted center space with the roller. Paint the wall with overlapping strokes in a W or M shape for the most even paint distribution.
- Let the first coat dry for at least a couple of hours, then reapply the coat. Between coats, cover pan and brush with plastic wrap touching surface of paint and refrigerate.
8. Pick your painting techniques
Your paint is mixed and your roller is ready, but be sure to plan a strategy before you start. Planning a bold focal wall? First, paint adjoining walls with light colors.
After the lighter wall dries, tape down that edge so the dark color doesn’t bleed onto the new paint.
If you’re covering dark walls with a brighter shade, plan on three coats: your primer, plus two coats of the new color to make sure nothing shows through.
If you are painting the trim, remove the painter’s tape and wait for the walls to dry before applying the tape to the walls. Start with the trim closest to the ceiling, move on to the door and window frames, and finally the baseboards.
9. Finish and clean up
You’ve applied several layers, but it’s not time to relax yet. Remove all painter’s tape and bundle the drop cloths together, making sure any spills or splatters are dry before moving them.
For latex and water-based paints, clean brushes with soapy water, although oil-based paints will require mineral spirits.
You can use a painter’s brush to clean and reshape the bristles. If you want to reuse roller covers, use the curved edge of a 5-in-1 tool to remove excess paint under running water.
- Rinse the brush and roller under the tap until the water runs clear.
- Decant any leftover paint from the tray back into the can; Seal the can well by placing a paper towel over the lid and tapping the edges of the lid with a hammer. Rinse tray.
- Once the bristles of the brush are completely dry, return the brush to its original paper wrapper to prevent the bristles from shedding.
- Remove the duct tape before you finish for the night, pulling it at a 45-degree angle to avoid breaking the finish.
9. Give yourself enough time
The amount of time your project will take depends on the size of your room, how you’re painting, and your skill level.
For example, using a dark shade on the walls and painting the ceiling and trim will take longer than painting the walls a neutral color.
While some spaces can be done in a few hours, others can take several days. Be sure to budget more time than you think the job will take, and don’t forget to factor in prep and cleanup.
Room Painting Tips
1. Use Tinted Primer
Before the professionals paint the walls, they fill the holes and repair the cracks with joint compounds. To avoid seeing patchy areas through the final coat of paint, it is important to prime the walls first.
However, instead of using white primer straight from the can, professionals tint the primer with a bit of gray paint or the color of the finishing paint.
Tinted primer does a better job of hiding patched areas and covering up the old paint color.
As a result, the finished paint coat will be more vibrant and require fewer coats. This is especially true when painting over colors such as red or orange, which may require three or more topcoats if a colored primer is not applied first.
2. Buy the Best Supplies
Don’t skimp on paint and brushes. Cheap brushes are a false economy. Buy the best brushes you can afford, clean them well and they will last you a lifetime.
A $3 plastic paint brush will make it look like you’ve smeared paint on the wall with a rake. And the bristles will fall off in the paint.
Buy Wooster or Purdy brushes, which cost a bit more than standard brushes, but are much more durable and apply paint very smoothly.
A quality 2½-inch-wide angled guillotine brush is a great all-around brush. It’s versatile and you can wash and reuse it until the bristles wear down to a knot.
Also, you will be able to wash off dirty fingerprints without removing the paint. And all the painting work will be faster and easier, and it will look better in the end.
3. Finish One Wall Before Starting Another
Most DIY painters cut all the corners of the room and then go back and paint the walls, but that’s not the right way to paint a room.
Professionals achieve a seamless look by cutting out a wall and then applying the paint immediately before the cut sections dry.
Also, cover your paint bucket, tray, or container with a damp towel when you switch between brushing and rolling; that will prevent paint and tools from drying out when not in use.
4. Use Canvas Drop Cloths
Professional painters don’t use old sheets as bedspreads, and neither should you. Thin sheets will not prevent splashes and spills from seeping through your floor. And don’t use plastic sheets either.
While the plastic contains spills, the paint stays wet for too long. And if you step on wet paint, you’ll end up dragging it all over the house. Also, wet paint on slippery plastic becomes very slippery.
Use what the professionals use: canvas cloths. They are more expensive, but the canvas is not slippery, absorbs splashes, and is durable enough to last a lifetime.
And unless you’re painting a ceiling, you don’t need a giant drop cloth to fill the entire room. A drop cloth a few feet wide and along the wall is ideal for protecting the floor.
Things You Should Know Before Painting A Room
1. Prepping a Room Does Make a Difference
It is a known fact that painting is much easier when there is nothing in your way. This means emptying the room, or at least as much as possible. If you’re painting your living room, move large pieces of furniture to the center and cover them with old sheets or drop cloths.
Although it seems like an unnecessary step to clean the walls, it is a very important step.
Whether you can see it or not, there is a buildup on the walls of dirt, dust, and oils from your hands. Removing this debris before painting will allow the paint to adhere to the walls.
You should also fill any nail holes or cracks with caulk, as well as tape down any adjoining walls, window trim, and light switch or outlet covers. Use drop cloths, newspaper, or a roll of paper to cover the floor.
2. Pay Attention to the Finish You Choose
Surprisingly, not only the color matters but also the finish or gloss. High-gloss paint finishes are very durable and easy to clean, but the downside is that they often highlight imperfections in the walls.
It provides some shine, is still easy to clean, doesn’t highlight blemishes, and isn’t as prone to chipping as flat paint.
3. Paint Can Be Changed
After painting a square on the wall and looking at it in different lights, you choose a color. However, you may find that what looks great in a small section is too overwhelming once the walls are finished.
Fortunately, paint is an inexpensive option for renovating a room and can be easily changed. If you find that you don’t like a color, you can easily paint it.
Also, if the color seems too overwhelming for all four walls, consider leaving one wall painted that color as an accent. You may find that all you need is a “pop” of color.
4. Priming Saves on Paint
Speaking of primer, this is an important step in the prep process. The primer seals the walls giving it a base for the paint to adhere to.
After filling all the holes and cracks, the primer becomes even more important. The primer will prevent flashing or a shiny spot on the wall, which occurs when the paint is placed directly on top of the putty.
Primer, however, doesn’t help you skip the step of cleaning the walls.
5. Brush Before Rolling
For many, the concept of brushing the corners before or after rolling the walls can be confusing.
Carefully use a high-quality brush to paint about an inch of the corners, ceiling, and baseboard.
Use the roller after brushing to smooth out any brush marks that have gone past the depth of the corner.
6. Spend Money on Proper Supplies
In addition to a good-quality paint brush, you’ll want to make sure you have all the supplies you need before you begin.
Roller extenders will help you reach higher walls without overstretching your arms or going up on your toes.
A sturdy step ladder will help you easily reach the top corners of the walls when you plan. Both of these items will prevent you from overextending your body and causing injury.
Final Words
There are many steps to take for a successful painting of a room.
These are just a few tips that will make your painting experience so much better than you could have hoped for!
Follow these 10 steps and you’ll end up with perfectly painted walls!
Remember to take your time to do the tedious prep work – it pays off by making your painting project run smoothly and results in a better paint job.
Leave a Reply