A paint sprayer can deliver a quality finish in half the time of a traditional roller or brush. To ensure the best results, there are a few dos and don’ts before you begin.
There is no easy way to paint the exterior of your home. When certain factors are correct, painting your home with a sprayer will be easier and faster than with a roller or brush.
Knowing how to use a paint sprayer places you in a select breed of DIYers, literally being the primary paint spraying technique.
You can’t just connect the sprayer to the paint and start painting. Painting with a sprayer takes a little practice.
Try to perfect your technique on cardboard. Once you’re sure you can provide a nice, even coverage, you can move on to painting the walls.
Ready to join the select breed of serious spray specialists? Let us begin.
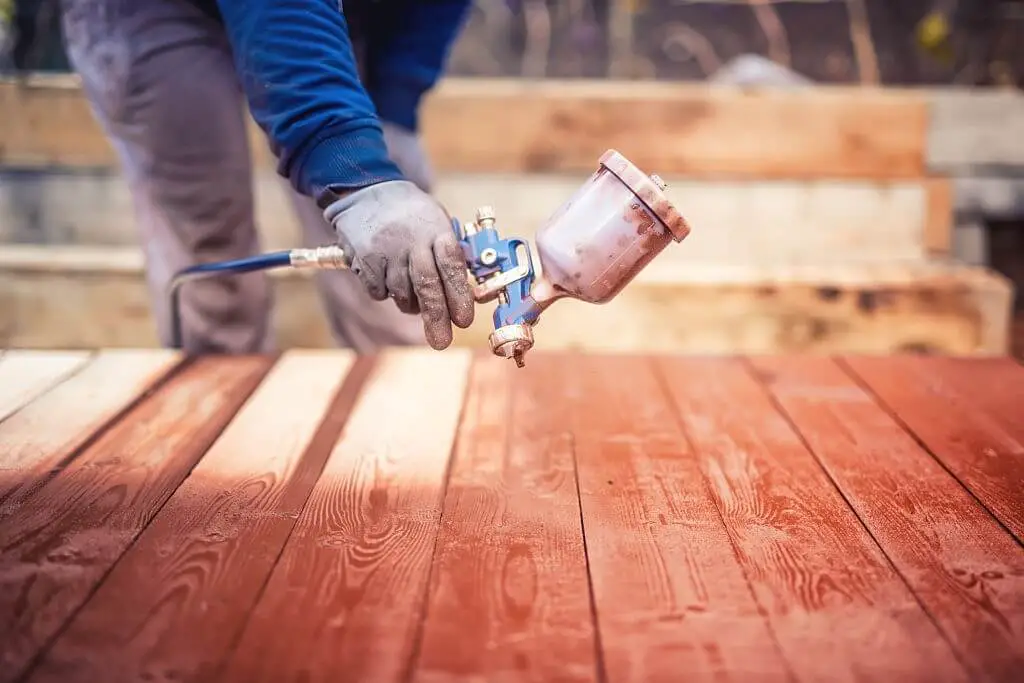
Table of Contents
What you will need to follow
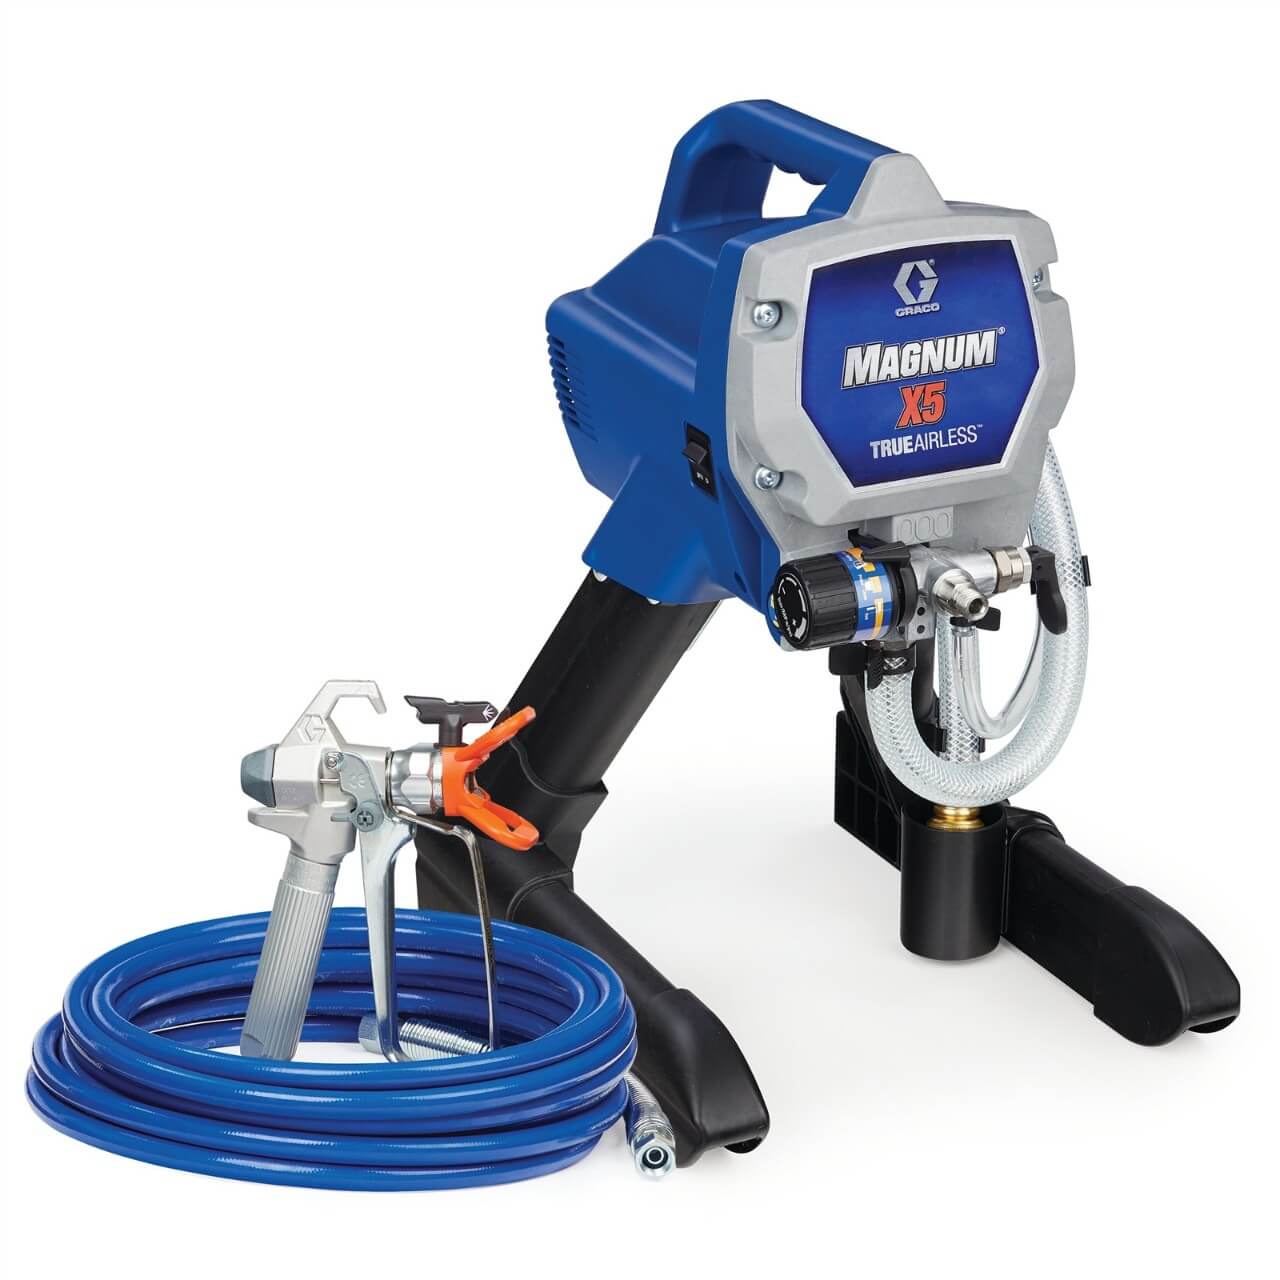
- Airless Paint Sprayer – You need the kind of airless paint sprayer that pulls straight out of the can, not the kind that requires you to fill an attached cup. Read here to differences between HVLP and airless.
- Paint – This is your choice, but make sure it’s exterior paint. You can save money and speed up work by buying 5-gallon cans of paint.
- Clean Water Bucket – You need a clean bucket that stays clean throughout the painting process.
- Waste Bucket – This bucket will receive drained paint and other debris from the paint spraying process. Don’t expect to be able to clean this bucket later.
- Paint thinner – for some oil paints.
- Conditioner – for some latex paints.
- Protective equipment – goggles, mask, gloves, and coveralls.
- Viscosity cup.
- Teflon tape.
- Air hose.
- Drop cloths.
- Scotch tape.
- Sandpaper.
- Cleaning cloths.
How to Use a Paint Sprayer – Step by Step Instructions
Set up the sprayer in a paint can and buckets
All paint sprayers are different. You need to consider the size of your job, the coating medium you will use, and the type of finish you will need.
The following is a general guide for placing the various tubes in which the cubes:
Siphon in paint: The siphon is a large tube with a wire screen at the end. Place it directly into the paint can with the protected end at the bottom.
Drain in waste: Place the drain tube into the debris bucket.
Plug: Plug the sprayer into the electrical outlet.
Place the trash can and paint can next to each other. This is also a good time to put on your overalls.
Prepare Yourself
Before you take out the paint sprayer and start painting, it’s important to be prepared.
This includes having all the right items to make your DIY paint spraying project smoother and learning how to use a paint sprayer before climbing stairs and figuring it out in midair.
This is especially important when doing larger jobs, like automotive paint.
Each layer, or particular area, must be completed in one sitting. Don’t paint half the hood of a car, have a coffee and then come back to finish the cover.
This will cause the paint to dry at different speeds and will leave telltale signs of your impromptu free time.
Therefore, always make sure you have enough time to devote your full attention to your project.
It’s not a good idea to pick a day when the football game is on, you have a hangover from the night before, or your ex-wife and her new jerk boyfriend bring the kids to your bi-monthly visitation session.
Quickly move the drain tube into the paint can
The pump will run for about 30 seconds. Paint will begin to pump out of the paint can, through the spray machine, and out of the drain tube into the waste pail. Your painting is on a one-way road.
Quickly change the drain tube, placing it in the paint can, towards the bottom.
Get ready with protective gear
Turn off the machine and put on the rest of your protective equipment. You can’t use too much protection when spray painting.
Yes, it will look silly and it is uncomfortable, but it will save your eyes, skin, hair, and clothes.
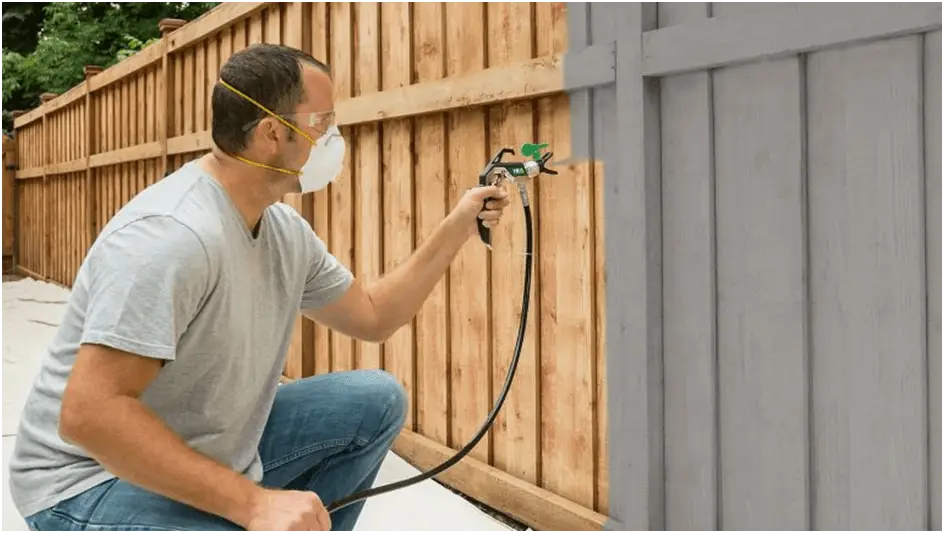
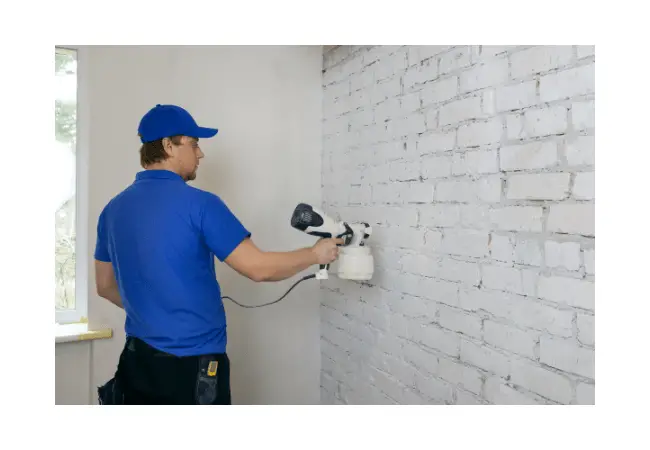
Spraying your surface
1. Hold the gun seven to twelve inches from the surface of your target and squeeze the trigger to begin the flow of paint. Keep the gun as upright as possible,
2. Move the gun slowly, either up or down or side to side, gradually progressing along with your base material.
3. Make sure each pass slightly overlaps the previous one; This ensures that the “feathered” edges of the spray do not leave thin coverage areas on your target medium.
4. At all times, check for puddles or drips on your project. If this is a problem, reduce the volume delivery a bit.
5. If you cover a large area, you may need to refill the paint container. After each refill, always check that the gun is primed as in Step 13, ensuring a smooth flow.
Completing your project
1. After you have finished your work, turn off the compressor and disconnect the air hose.
2. Separate the paint cup. You can return any unused materials to the original can. For diluted paints, you can store this liquid in the gun container if it has a storage lid, or cover it with saran wrap.
3. Thoroughly clean the gun tip, cup, and siphon tube. Some professionals will flush the system with thinner or water, depending on the type of paint sprayers used. For a complete description of post-project flushing, see my article on how to clean a paint gun.
4. Make coffee, light a cigarette, step back and admire your handiwork.
5. Show it to your partner or wife, and with a suggestive wink mention that you deserve a special “gift” tonight for your hard work.
Clean your spray gun
After you have finished your work, you need to make sure you clean the spray gun thoroughly so that it works well the next time you need it.
Proper cleaning will involve flushing all of the paint from the spray gun, running the cleaner through the spray gun until the cleaner comes out of the gun, and then making sure the air cap is completely clean as well.
Conclusion
Spraying is the ultimate power painting technique, offering a clean, uniform finish with impressive controllability.
Perhaps more than any other hedging method, preparation is key.
Make sure your gun is compressor compatible, take time to sand and clean its surface, take a few minutes to pre-spray the primer spray, and then take your time during the delivery process.
And even as a beginner, you can enjoy pro-level results.
If you have a friend who you think might also enjoy or benefit from this article, feel free to share it with him!
Now you know the basics of how to use a paint sprayer with an air compressor, so pick one of the best guns and compressors and start spraying.